Homemade Pumpkin Pie: Traditional and Flaky
- Time: Active 20 minutes, Passive 55 minutes, Total 75 minutes
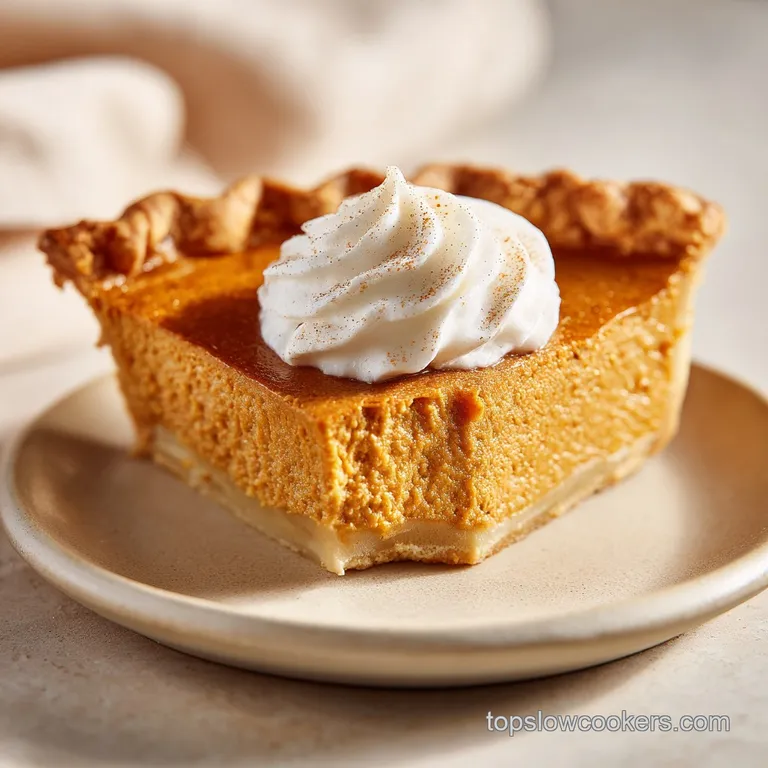
- Flavor/Texture Hook: A velvety, spiced custard with a shattering, flaky crust
- Perfect for: Traditional holiday feasts and beginner friendly Sunday baking
- The Ultimate Hearty Homemade Pumpkin Pie Recipe
- Reasons for This Superior Texture
- Critical Metrics for Baking Success
- Foundational Ingredients for the Filling
- Essential Tools for Every Baker
- Clear Phases of Preparation Work
- Vital Success Strategies and Warnings
- Creative Modifications for Your Pie
- Proper Storage and Handling Rules
- Flavorful Accompaniments and Toppings
- Myths Regarding Pumpkin Pie
- Recipe FAQs
- 📝 Recipe Card
The Ultimate Hearty Homemade Pumpkin Pie Recipe
Nothing ruins a holiday dinner faster than a slice of pie that collapses into a puddle of orange mush the second it hits the plate. We have all been there you pull a beautiful looking pie out of the oven, wait for it to cool, and then realize the bottom crust has the consistency of wet cardboard.
It is a heartbreak I have experienced more times than I care to admit, usually while a house full of hungry relatives waits in the other room.
That specific failure happens because the moisture from the pumpkin and evaporated milk seeps into the raw dough before the heat can crisp it up. This pumpkin pie recipe is the targeted fix for that exact disaster.
We are not just tossing ingredients into a tin; we are using a specific blind baking method and temperature control to ensure the base stays firm and the filling stays silky.
By focusing on a hearty, traditional approach, we get a dessert that feels substantial. We are looking for a thick, stable custard that carries the warmth of cinnamon and cloves without being overly sweet.
It is about getting those textures right the contrast between a brittle, salty crust and a smooth, spiced interior. Right then, let's look at why this specific method actually works to save your dessert table.
Reasons for This Superior Texture
Thermal Shock Crust: Freezing the butter heavy dough for 15 minutes before it hits a 400°F (200°C) oven forces the water in the butter to evaporate instantly, creating tiny steam pockets that lead to a shattering, flaky texture.
Protein Matrix Binding: Using three large eggs provides a dense network of proteins that trap the moisture from the pumpkin purée, ensuring the filling sets into a sliceable custard rather than a soft mash.
Sugar Starch Synergy: Brown sugar contains molasses which adds depth, while the natural starches in the pumpkin purée thicken during the bake to prevent "weeping" or water separation after the pie cools.
Evaporated Milk Reduction: This shelf stable ingredient has roughly 60% of its water removed, providing a concentrated dairy fat that creates a velvety mouthfeel without the high cost of heavy cream.
| Method | Total Time | Crust Texture | Best For |
|---|---|---|---|
| Fast (store-bought) | 60 minutes | Uniform, crumbly | Last minute weeknight treats |
| Classic (This Recipe) | 75 minutes | Shattering, flaky | Traditional holiday gatherings |
| Frozen Pre made | 65 minutes | Dense, cookie like | High volume party prep |
Choosing the classic approach with this pumpkin pie recipe ensures that you control the salt and fat content in the crust. While store-bought options are convenient, they often lack the structural integrity needed to support a deep dish filling.
The 15 extra minutes spent on the scratch made crust pays off in the visual appeal and the "snap" of the first bite.
Critical Metrics for Baking Success
| Component | Science Role | Pro Secret |
|---|---|---|
| Frozen Butter | Steam production | Cube and freeze 10 mins before mixing to prevent melting into the flour. |
| Brown Sugar | Hygroscopic moisture | Pack it tight to ensure the molasses adds the right amount of savory depth. |
| Evaporated Milk | Emulsification fat | Whisk in slowly to avoid air bubbles that cause unsightly surface cracks. |
| Ice Water | Gluten inhibition | Use only enough to hold the dough together; too much water makes the crust tough. |
When you are working with the crust, the temperature of your hands matters just as much as the temperature of the oven. If you feel the butter starting to soften or look greasy while you are rolling it out, stop immediately and put the whole thing in the fridge.
We want those distinct chunks of fat to remain visible in the dough that is the "marbling" that guarantees a professional finish.
Foundational Ingredients for the Filling
- 1.25 cups all purpose flour (155g): Why this? Provides the structural protein needed for a sturdy, flaky base.
- 0.5 cup unsalted butter, frozen and cubed (113g): Why this? High fat content creates steam for a layered crust.
- 4 tbsp ice water (60ml): Why this? Bonds the flour without activating too much gluten.
- 0.5 tsp salt (3g): Why this? Sharpens the flavor of the butter and wheat.
- 15 oz canned pumpkin purée (425g): Why this? Consistent moisture levels compared to fresh pumpkin.
- 12 fl oz evaporated milk (355ml): Why this? Provides a rich, thick texture on a budget.
- 3 large eggs (150g): Why this? The primary thickener for the custard filling.
- 0.75 cup brown sugar, packed (150g): Why this? Adds moisture and a deep, caramelized flavor.
- 1 tsp ground cinnamon (2g): Why this? The lead warming spice for traditional flavor.
- 0.5 tsp ground ginger (1g): Why this? Adds a sharp, bright bite to cut the sugar.
- 0.25 tsp ground cloves (0.5g): Why this? Deepens the aromatic profile with earthy notes.
- 0.5 tsp fine sea salt (3g): Why this? Balances the sweetness of the custard.
For the crust, you can use a high-quality margarine if butter is too expensive, but keep in mind it has a higher water content, so you might need a tablespoon less of the ice water. For the filling, if you are out of brown sugar, granulated sugar works, but the flavor will be flatter.
Adding a teaspoon of molasses to the granulated sugar is a great budget friendly hack to mimic that brown sugar richness.
Essential Tools for Every Baker
To get the best results with this pumpkin pie recipe, a 9 inch deep dish pie plate is your best friend. Standard pie tins are often too shallow for this volume of filling, and you will end up with leftover custard or a messy overflow in your oven.
Glass or ceramic plates are preferred over thin metal ones because they distribute heat more evenly, which helps the bottom of the crust bake at the same rate as the edges.
You will also need a rolling pin and a large mixing bowl. If you do not have a pastry cutter for the butter, two forks or even your fingertips will work just move fast so the butter doesn't melt. A set of pie weights or even a bag of dried beans is necessary for the blind baking stage.
These keep the dough from bubbling up or "slumping" down the sides of the dish when it first hits the heat.
Clear Phases of Preparation Work
- Roll the chilled dough on a floured surface until it reaches a 12 inch circle. Note: This ensures enough overhang for a thick, decorative crimp.
- Ease the dough into the 9 inch deep dish plate carefully. Do not stretch the dough or it will shrink and pull away from the edges while baking.
- Freeze the prepared pie shell for 15 minutes. Wait until the dough is firm to the touch before proceeding to help stabilize the fats.
- Line the shell with parchment and weights. Bake at 400°F (200°C) for 12 minutes until the edges are pale gold.
- Whisk the 3 large eggs and 0.75 cup brown sugar in a large bowl. Whisk until no sugar lumps remain and the mixture is smooth.
- Stir in the 15 oz pumpkin purée, cinnamon, ginger, cloves, and sea salt. Note: Mixing the spices into the purée first ensures even distribution.
- Gradually whisk in the 12 fl oz evaporated milk. Continue until the custard is silky and shows no streaks of white.
- Pour the mixture into the pre baked crust and lower the oven to 350°F (175°C). Note: The lower temperature prevents the eggs from curdling.
- Bake for 40-45 minutes until the center still jiggles slightly like Jell O when the pan is nudged.
- Remove from the oven and cool completely on a wire rack. Allow at least 2 hours for the residual heat to finish setting the center and prevent surface cracking.
Chef's Tip: If you want an extra shiny, professional look on your crust, brush the edges with a quick egg wash (one egg beaten with a splash of water) halfway through the blind baking process. It adds a deep mahogany color that makes the pie look like it came from an expensive bakery.
Vital Success Strategies and Warnings
The biggest mistake people make with this pumpkin pie recipe is overbaking. Because this is a custard, it continues to cook for a good 20 minutes after you take it out of the oven. If the center is firm when you pull it out, it will likely crack as it cools because the eggs have been pushed too far.
Aim for that "slight jiggle" it should look set around the outer two inches, but the very middle should still move as one unit.
Structural Integrity Science
The crust needs to be cold, but the filling ingredients should ideally be at room temperature. When you add cold evaporated milk to eggs, it can make the fat in the pumpkin purée clump up. Take your ingredients out of the fridge about 30 minutes before you start the filling.
This ensures a smoother emulsion and a more velvety texture once the pie is baked.
Blind Baking Purpose
Many skip the blind bake because it feels like an extra step, but it is the only way to avoid the "soggy bottom." By searing the surface of the dough before adding the wet filling, you create a waterproof barrier.
This keeps the crust crisp and ensures the pie can be served in clean, hearty slices that don't fall apart on the way to the plate.
| Problem | Root Cause | Solution |
|---|---|---|
| Cracked Surface | Overbaking or cooling too fast | Pull pie when center jiggles; cool away from drafts. |
| Shrunken Crust | Stretching dough during prep | Drape dough loosely; avoid pulling it tight against the tin. |
| Grainy Filling | Eggs curdled from high heat | Ensure oven is lowered to 350°F (175°C) for the filling stage. |
Common Mistakes Checklist
- ✓ Never skip the 15 minute freeze for the crust; it is vital for leafiness.
- ✓ Avoid over mixing the filling; air bubbles lead to unsightly surface holes.
- ✓ Ensure the brown sugar is fully dissolved before adding the dairy.
- ✓ Let the pie reach room temperature before putting it in the fridge to prevent condensation.
- ✓ Use a serrated knife for the cleanest slices through the flaky crust.
Creative Modifications for Your Pie
If you are looking to change things up, you can easily swap the spices. Some people find cloves a bit too medicinal; if that is you, feel free to double the cinnamon or add a pinch of nutmeg.
While this is a budget friendly recipe, you can make it feel more premium by adding a tablespoon of bourbon or dark rum to the filling. This adds a sophisticated aromatic layer that pairs beautifully with the brown sugar.
For those who want a different experience, this pie is a great base for variations. While your pie cools, you might enjoy a Pumpkin Spice Latte to stay in the autumnal spirit. If you find yourself with an extra can of purée and don't want to make a second pie, you can use those leftovers for a Pumpkin Cake Cheesecake which uses similar spice profiles but a completely different texture.
| Preference | Adjustment | Impact |
|---|---|---|
| Extra Rich | Swap 4oz milk for heavy cream | Denser, more luxurious mouthfeel |
| Lighter Bite | Use granulated sugar | Brighter flavor, less molasses depth |
| dairy-free | Use full fat coconut milk | Adds a slight tropical note; sets well |
When scaling this recipe down for a smaller household, you can bake the filling in individual ramekins without a crust for a "pumpkin custard." Reduce the baking time to about 20-25 minutes.
If you are scaling up for a big party, keep in mind that baking two pies at once might require a few extra minutes of cook time since the oven temperature will drop slightly when you open the door to put both in.
Proper Storage and Handling Rules
This pie is a workhorse when it comes to storage. Because of the high sugar and fat content, it stays fresh in the refrigerator for up to 4 days. Always cover it loosely with foil or plastic wrap once it has cooled completely.
Do not cover a warm pie, or the steam will be trapped, ruining that crispy crust we worked so hard to achieve. For the best flavor, take the pie out of the fridge 30 minutes before serving so the butter in the crust can soften slightly.
If you have leftovers that you won't get to, pumpkin pie actually freezes surprisingly well. Wrap individual slices tightly in plastic wrap and then a layer of foil. They will stay good for about 2 months. To thaw, move them to the fridge overnight.
Do not microwave them to thaw, or the custard will become rubbery and the crust will turn to mush.
To minimize waste, don't throw away the dough scraps! Roll them out, sprinkle with cinnamon sugar, and bake them alongside the pie for 10 minutes. These "pie fries" are a classic baker's treat.
Also, if you have a bit of leftover evaporated milk, it is fantastic in your morning coffee it’s much creamier than regular milk and adds a nice weight to the drink.
Flavorful Accompaniments and Toppings
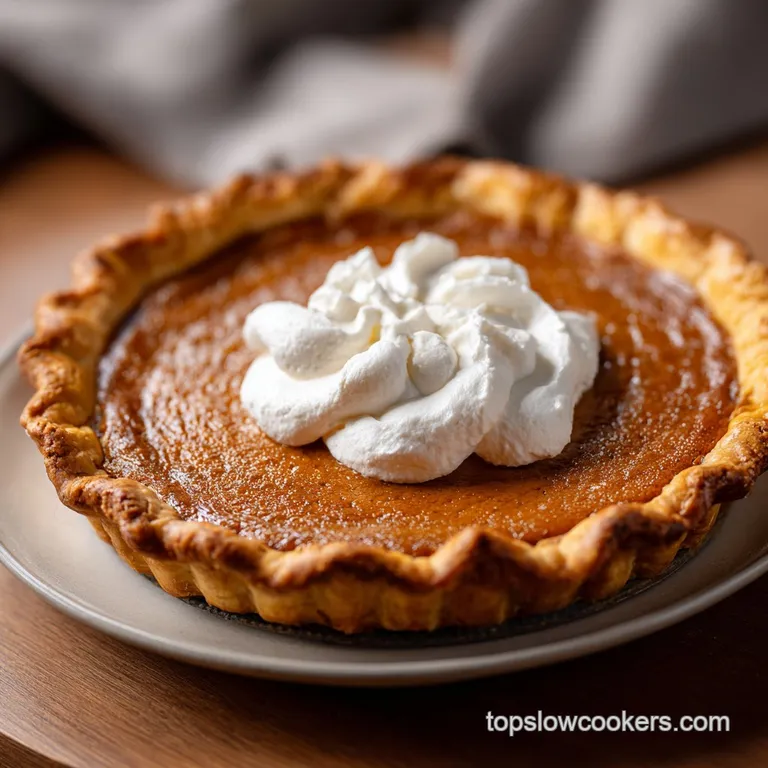
A hearty pumpkin pie deserves a topping that can stand up to its density. While the canned spray stuff is fine in a pinch, a hand whisked cream with a touch of maple syrup is a game changer. The saltiness of the crust and the earthy spices in the pumpkin benefit from something cool and light on top.
If you want to lean into the traditional vibe, a small scoop of vanilla bean ice cream on a slightly warmed slice is hard to beat.
For a crunchier contrast, try garnishing the top with toasted pepitas (pumpkin seeds) or crushed pecans. The savory notes of the nuts play off the ginger and cloves perfectly. If you are serving this as part of a larger spread, consider a sharp cheddar cheese on the side.
It sounds strange if you haven't tried it, but the saltiness of the cheese against the sweet spiced custard is a very old-fashioned, delicious pairing that really highlights the "savory" side of the pumpkin.
Myths Regarding Pumpkin Pie
A common misconception is that fresh pumpkin is always better than canned. In reality, most "pie pumpkins" vary wildly in water content and fiber. Using canned purée isn't a "cheat" it is a way to ensure your custard has a consistent, velvety texture every single time.
Canned pumpkin is usually a specific variety of squash called Dickinson, which is denser and sweeter than the Jack o'-lanterns you see on porches.
Another myth is that you need to use "Pumpkin Pie Spice" mixes. While those are convenient, they often sit on grocery shelves for months and lose their potency. Making your own blend from individual jars of cinnamon, ginger, and cloves allows you to control the balance.
You get a much more robust and "hearty" aroma when the spices are fresh and measured out specifically for the recipe's needs.
Finally, some believe that the "jiggle" in the center means the pie is undercooked. This is the most dangerous myth in pie baking! If you wait for the center to be firm and dry, the carryover heat will cause the eggs to tighten too much, leading to deep cracks across the surface.
Trust the jiggle; it is the secret to that professional, smooth finish that everyone loves.

Recipe FAQs
What is the secret to a good pumpkin pie?
The secret is chilling your dough and blind baking. Freezing the crust for 15 minutes before baking creates a distinctively flaky texture, and blind baking prevents a soggy bottom.
Is it better to use heavy cream or evaporated milk in pumpkin pie?
Evaporated milk is the superior choice for this recipe. It provides the specific density and silkiness required for a stable custard that sets properly during the 40-45 minute bake time.
What are common mistakes when making pumpkin pie?
Over mixing the filling and rushing the cooling process are the most frequent errors. Over mixing incorporates too much air, creating holes in the custard, while skipping the room temperature cooldown phase often leads to surface cracks.
How to ensure a smooth, crack free custard surface?
Whisk the eggs and brown sugar until perfectly smooth before adding the pumpkin. If you enjoyed mastering this emulsification, you can apply the same whisking precision when making our velvety Tres Leches cake to achieve a flawless consistency.
Which pie is best for diabetics?
No, standard pumpkin pie is not ideal for a diabetic diet. It contains significant amounts of brown sugar, which will cause a spike in blood glucose levels.
How to tell when the pie is fully baked?
Look for set edges while the center maintains a slight jiggle. Residual heat will finish cooking the center as it cools to room temperature, ensuring the custard remains creamy rather than overcooked and grainy.
Is it true that adding more eggs makes the pie firmer?
No, this is a common misconception. Sticking to the three large eggs specified in the ingredient list provides the correct structural integrity; adding more will change the texture from a delicate custard to an eggy, rubbery consistency.
Classic Homemade Pumpkin Pie
Ingredients:
Instructions:
Nutrition Facts:
| Calories | 351 kcal |
|---|---|
| Protein | 8.2 g |
| Fat | 17.1 g |
| Carbs | 42.3 g |
| Fiber | 1.8 g |
| Sugar | 23.5 g |
| Sodium | 291 mg |
