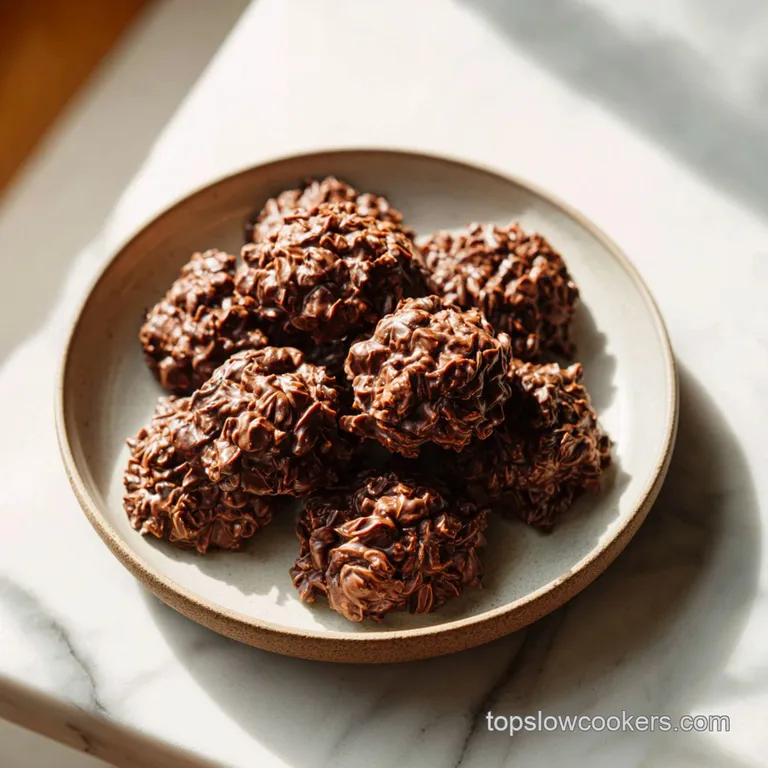
No Bake Cookies: Fudgy and Chewy
- Time: Active 10 minutes, Passive 5 minutes, Total 15 minutes
- Flavor/Texture Hook: Glossy, fudgy chocolate with a creamy peanut butter finish and chewy oat texture.
- Perfect for: Busy weeknights, last minute school snacks, or summer days when it is too hot to bake.
- Achieving Fudgy Texture with No Bake Cookies
- How Boiling Creates the Perfect Set
- Essential Numbers for Your Cookie Batch
- Choosing Right Oats and Cocoa for Depth
- Minimal Kitchen Tools for Mess Free Cleanup
- Transforming Ingredients into Creamy Chocolate Treats
- Fixing Common Texture Mistakes for Better Results
- Simple Flavor Variations and Add In Ideas
- Preserving That Fresh Fudgy Bite for Weeks
- Ideal Beverage and Snack Combos for Treats
- Debunking Cookie Myths
- Recipe FAQs
- 📝 Recipe Card
Achieving Fudgy Texture with No Bake Cookies
Forget the idea that "no bake" means "no effort" or that these are just a pile of oats held together by hope. Most of us have been there staring at a tray of chocolate puddles that refuse to set, or worse, biting into a dry, crumbly rock that falls apart on the first nibble.
I used to think it was just luck, but it turns out the difference between a velvety cookie and a sugary mess is all about the timer.
The first time I made these, I was so afraid of burning the chocolate that I pulled the pan off the heat the second a single bubble appeared. Big mistake. We ended up eating "cookie soup" with spoons. The next time, I let it boil until it looked like molten lava, and they turned out like grainy sand disks.
It took a few tries to realize that the magic happens in exactly 60 seconds of a violent, rolling boil.
These days, I keep the ingredients for this recipe in my pantry at all times because it's the ultimate zero fuss solution for a sweet craving. You don't need to preheat anything or wait for a slow cooker to do its thing. It's just you, a saucepan, and 15 minutes of work.
We're going to dive into exactly how to get that glossy finish every single time without the frustration.
How Boiling Creates the Perfect Set
The secret to a successful batch lies in the syrup structure. We aren't just melting ingredients; we're creating a short lived candy base that acts as the glue for our oats.
- Sugar Saturation: Boiling the milk, butter, and sugar creates a concentrated syrup. If you don't boil long enough, the sugar won't reach the right concentration to harden as it cools.
- Crystallization Control: Stirring constantly during that one minute boil prevents large sugar crystals from forming, ensuring the final texture is smooth and velvety rather than gritty.
- Oat Hydration: The heat from the syrup slightly softens the quick oats while the old-fashioned oats retain their structural integrity.
- Emulsification Stability: Adding the peanut butter off the heat prevents the oils from separating, which keeps the cookies creamy and prevents an oily residue on the parchment paper.
| Method | Total Time | Texture Result | Best For |
|---|---|---|---|
| Classic Stovetop | 15 minutes | Fudgy and glossy | Maximum flavor and reliable set |
| Microwave Shortcut | 8 minutes | Softer, less consistent | College dorms or tiny kitchens |
| Slow Cooker | 2 hours | Ultra soft and warm | Large potluck gatherings |
While the stovetop is my go to for that specific "snap" when you bite into the cookie, the microwave version works in a pinch if you watch it like a hawk. However, the stovetop allows you to see the exact moment the rolling boil starts, which is the only way to guarantee they'll firm up on the counter.
Essential Numbers for Your Cookie Batch
Getting the ratios right is the only way to ensure the chocolate syrup can actually support the weight of the oats. If you have too many oats, they become dry; too few, and they won't hold their shape.
| Ingredient Component | Science Role | Pro Secret |
|---|---|---|
| Unsalted Butter | Fat & Texture | Use real butter, not margarine, for a cleaner mouthfeel and better set. |
| Granulated Sugar | Structural Glue | Sugar provides the "snap." Don't reduce this or the cookies will stay soft. |
| Whole Milk | Liquid Base | The fat in whole milk helps emulsify the cocoa and butter into a rich syrup. |
| Natural Peanut Butter | Protein Binder | Adds creaminess and helps thicken the syrup instantly when added off heat. |
We use a mix of quick cooking and old-fashioned oats to get the best of both worlds. The quick oats act as a thickener, absorbing the chocolate liquid quickly, while the old-fashioned oats provide that satisfying, chewy bite that makes these feel like a real cookie.
Choosing Right Oats and Cocoa for Depth
You'll need a handful of pantry staples to get started. I always recommend measuring everything out before you turn on the stove because once that boil starts, you won't have time to go digging for the vanilla.
- 1/2 cup (113g) unsalted butter: Provides the rich, fatty base.
- 1 1/2 cups (300g) granulated cane sugar: Essential for the syrup's structure.
- 1/4 cup (25g) unsweetened Dutch process cocoa powder: Why this? It has a deeper color and smoother flavor than natural cocoa.
- 1/2 cup (120ml) whole milk: The liquid that dissolves the sugar.
- 2/3 cup (165g) creamy natural peanut butter: Why this? Natural versions offer a more intense nut flavor without extra palm oil.
- 1 tablespoon pure vanilla extract: Adds a floral backnote to the chocolate.
- 1/2 teaspoon fine sea salt: Essential to balance the sweetness.
- 1 1/2 cups (120g) quick cooking oats: Absorbs the syrup to create a solid base.
- 1 1/2 cups (120g) old fashioned rolled oats: Provides the necessary chew and texture.
For the milk, you can swap in heavy cream if you want an even more decadent, truffle like result. If you're out of Dutch process cocoa, regular unsweetened cocoa powder works just fine, though the cookies will be a bit lighter in color and slightly more acidic.
Minimal Kitchen Tools for Mess Free Cleanup
This is truly a one pot wonder. You don't need a stand mixer or even a whisk, though a heavy bottomed saucepan is non negotiable for even heat distribution.
- 3 quart heavy bottomed saucepan: Thick walls prevent the sugar from scorching on the edges.
- Silicone spatula: Great for scraping the bottom of the pan to ensure no cocoa pockets remain.
- 2 tablespoon cookie scoop: Helps you move fast while the mixture is still warm and pliable.
- Parchment paper: Nothing sticks to this, making the 30 minute set time much easier.
Transforming Ingredients into Creamy Chocolate Treats
- Prepare the station. Line two large baking sheets with parchment paper and measure all ingredients so they are ready to go. Note: Speed is vital once the boiling starts.
- Combine the base. In your saucepan, add the 1/2 cup unsalted butter, 1 1/2 cups sugar, 1/2 cup milk, and 1/4 cup cocoa powder.
- Melt and stir. Heat over medium heat, stirring constantly until the butter is completely melted and the mixture is dark and glossy.
- Reach the rolling boil. Increase the heat slightly until the mixture reaches a full rolling boil this means bubbles are popping all over the surface and cannot be stirred away.
- Timed boil. Start your timer for exactly 60 seconds. Continue stirring until the minute is up to keep the bottom from burning.
- Remove and flavor. Take the pan off the heat immediately. Stir in the 2/3 cup peanut butter, 1 tablespoon vanilla, and 1/2 teaspoon salt until the mixture is completely smooth.
- Add the body. Fold in both the 1 1/2 cups quick oats and 1 1/2 cups old fashioned oats. Stir until every oat is fully coated in chocolate.
- Portion the cookies. Use your cookie scoop to drop 2 tablespoon mounds onto the parchment paper.
- The waiting game. Let the cookies sit at room temperature for 30 minutes until they are firm to the touch and no longer shiny.
Mastering Sugar Crystallization
If you notice your cookies are feeling a bit gritty, it usually happens because sugar crystals formed on the side of the pan and fell back in. You can prevent this by using a wet pastry brush to wipe down the inside edges of the pot right as it starts to boil.
This ensures every grain of sugar is fully dissolved into the syrup.
The Texture and Binding
The combination of oats is the real secret here. If you use only old-fashioned oats, the cookies might feel a bit loose or fall apart. The quick oats act like a sponge, soaking up the excess moisture. If you enjoy this flavor profile but want something with a bit more crunch, you might find my classic peanut butter cookies to be a great baked alternative.
Fixing Common Texture Mistakes for Better Results
The most frequent frustration with this recipe is the "set." If the cookies stay gooey, the syrup didn't get hot enough. If they are dry and crumbly, you boiled it for too long, essentially making chocolate oat sawdust.
Causes of Sticky Cookies
If your cookies are still sticky after an hour, the sugar didn't reach the "soft ball" stage. This often happens if you start the 60 second timer at the first sign of a bubble instead of waiting for a full, vigorous boil.
You can try putting them in the fridge to help them firm up, but they will likely stay a bit tacky.
Reasons for Crumbly Cookies
When the cookies fall apart as soon as you pick them up, the syrup was overcooked. This happens if the heat was too high or the timer went too long. The moisture evaporated, leaving only sugar crystals that can't hold the weight of the oats.
| Problem | Root Cause | Solution |
|---|---|---|
| Gooey/Won't Set | Under boiled syrup | Ensure a full rolling boil for a full 60 seconds. |
| Grainy Texture | Sugar didn't dissolve | Stir more frequently during the melting phase. |
| Dry/Crumbly | Over boiled syrup | Pull off heat immediately at 60 seconds; check timer accuracy. |
Common Mistakes Checklist
- ✓ Don't use "light" or tub margarine; the water content is too high for a proper set.
- ✓ Ensure you use a 3 quart pot; a smaller pot might boil over, causing a massive mess.
- ✓ Wait for the "rolling" boil one or two bubbles on the edge are not enough.
- ✓ Use a kitchen timer rather than counting in your head; 5 seconds makes a difference.
- ✓ Work quickly once the oats are in, as the mixture begins to firm up as it cools in the pan.
Simple Flavor Variations and Add In Ideas
While the chocolate peanut butter combo is the gold standard, you can definitely play around with the components once you understand how the syrup works.
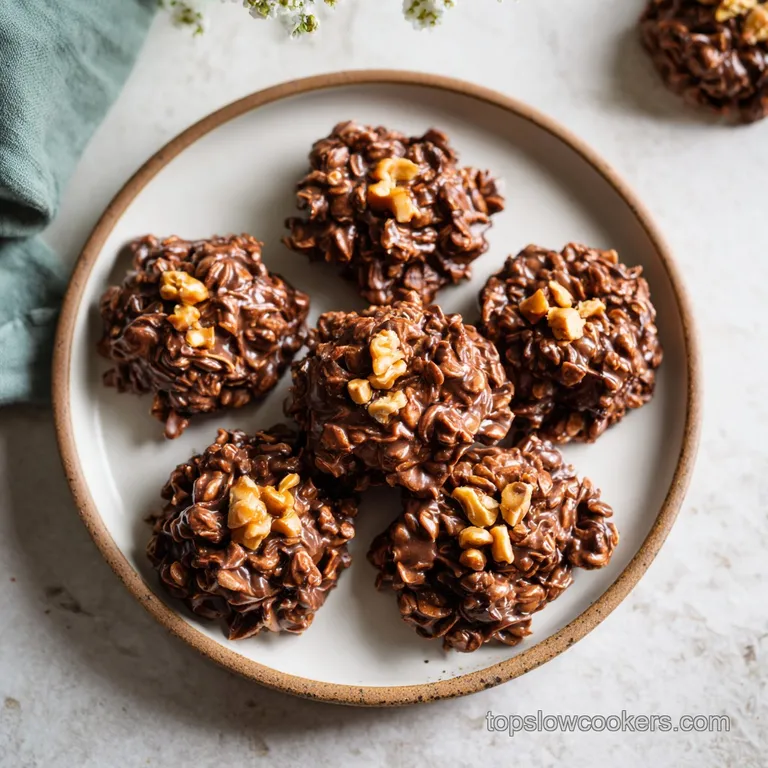
If you want to move away from peanut butter, almond butter or even sunbutter (for a nut free version) works beautifully. Just ensure the alternative butter is creamy and well stirred. You can also toss in a handful of shredded coconut or some chopped pecans for extra texture. If you're feeling festive, you can even press a small candy on top before they set, similar to how I decorate Halloween Sugar Cookies for seasonal treats.
Scaling for Smaller or Larger Groups:Cutting the batch (1/2): Use a smaller 1.5 quart saucepan. Be very careful with the boil time, as smaller volumes can evaporate faster; you might only need 50-55 seconds.
Doubling the batch (2x): Use a much larger pot (5-6 quarts) to prevent boil overs. Increase the boil time by about 10-15 seconds to account for the larger mass of liquid. Use 1.5x the salt to prevent it from becoming overly salty.
Preserving That Fresh Fudgy Bite for Weeks
Storing these cookies correctly keeps that velvety texture from turning into a dry brick. Since they are high in sugar and fat, they actually have a pretty impressive shelf life.
- Room Temperature
- Keep them in an airtight container for up to 5 days. Use parchment paper between layers to prevent them from sticking together.
- Refrigeration
- If your house is warm, store them in the fridge for up to 2 weeks. This actually makes them even fudgier and more "truffle like."
- Freezing
- These freeze beautifully for up to 3 months. I love eating them straight from the freezer because they don't get rock hard; they just get extra chewy.
Zero Waste Tip: If you end up with "cookie crumbs" at the bottom of the pan or the container, don't throw them away. Those chocolate oat bits are incredible when sprinkled over vanilla ice cream or stirred into your morning yogurt.
You can even pulse the crumbs in a food processor to create a "dirt" topping for chocolate pudding.
Ideal Beverage and Snack Combos for Treats
Because these cookies are quite rich and sweet, they pair best with something that offers a bit of contrast. A cold glass of whole milk is the traditional choice, but there are plenty of other ways to enjoy them.
Perfect Beverage Matches
The bitterness of a dark roast coffee or a strong espresso cuts through the sugar of the cookies perfectly. If you're serving these in the evening, a glass of cold almond milk or even a stout beer (the chocolate and coffee notes in the beer are a dream with these) works surprisingly well.
Creating a Dessert Spread
If you're making these for a party, they look great on a platter next to some fresh strawberries or raspberries. The tartness of the fruit cleanses the palate between bites of the rich chocolate.
You could also serve them alongside a scoop of salty caramel ice cream to lean into that sweet and salty vibe that the peanut butter and sea salt already provide.
Debunking Cookie Myths
One big misconception is that you need "special" sugar for these to set. Standard granulated white sugar is actually the most reliable because it dissolves predictably. Using brown sugar changes the moisture content and can lead to a softer, more caramel like set that doesn't hold up as well at room temperature.
Another myth is that you can't make these on a rainy or humid day. While high humidity can affect candy making, these cookies have enough oat fiber and peanut butter protein to overcome a bit of moisture in the air.
Just give them an extra 15 minutes of set time on the counter, or pop them in the fridge for 10 minutes if you're worried about the humidity winning the battle.

Recipe FAQs
What are the common mistakes in no bake cookies?
The most frequent error is failing to reach a full rolling boil. If you don't boil for exactly 60 seconds, the cookies will remain soft and fail to set properly.
Which cookies are good for diabetics?
No, these traditional cookies are not suitable for diabetics due to the high sugar content. They are intended as an occasional indulgence rather than a dietary staple.
How to make 3 ingredient cookies easy?
Combine creamy peanut butter, sugar, and egg to create a simple bake free shortcut. For a slightly more structured texture using minimal pantry staples, try our 3-Ingredient Peanut Butter Cookie method.
Can eating oatmeal cookies lower cholesterol?
No, this is a common misconception. While oats contain heart healthy fiber, the significant amounts of butter and sugar in this recipe negate any potential cholesterol lowering benefits.
Why do my cookies turn out grainy or crumbly?
You likely boiled the sugar mixture for too long. Once the timer hits 60 seconds, remove the pan from the heat immediately to avoid crystallization of the sugar.
How to ensure my cookies set firmly?
Measure your ingredients with a kitchen scale to maintain the exact ratio of butter to oats. If the mixture is too wet, the fat will prevent the cookies from hardening at room temperature.
Is it true that I can use tub margarine to save on calories?
No, this is a common misconception. Margarine contains too much water compared to unsalted butter, which prevents the chocolate and peanut butter emulsion from setting into a firm cookie.
Classic No Bake Cookies

Ingredients:
Instructions:
Nutrition Facts:
| Calories | 168 kcal |
|---|---|
| Protein | 3.2 g |
| Fat | 8.3 g |
| Carbs | 21.5 g |
| Fiber | 1.8 g |
| Sugar | 13.2 g |
| Sodium | 99 mg |
