Creamy American Buttercream: Professional Grade
- Time: Active 15 minutes, Passive 0 minutes, Total 15 minutes
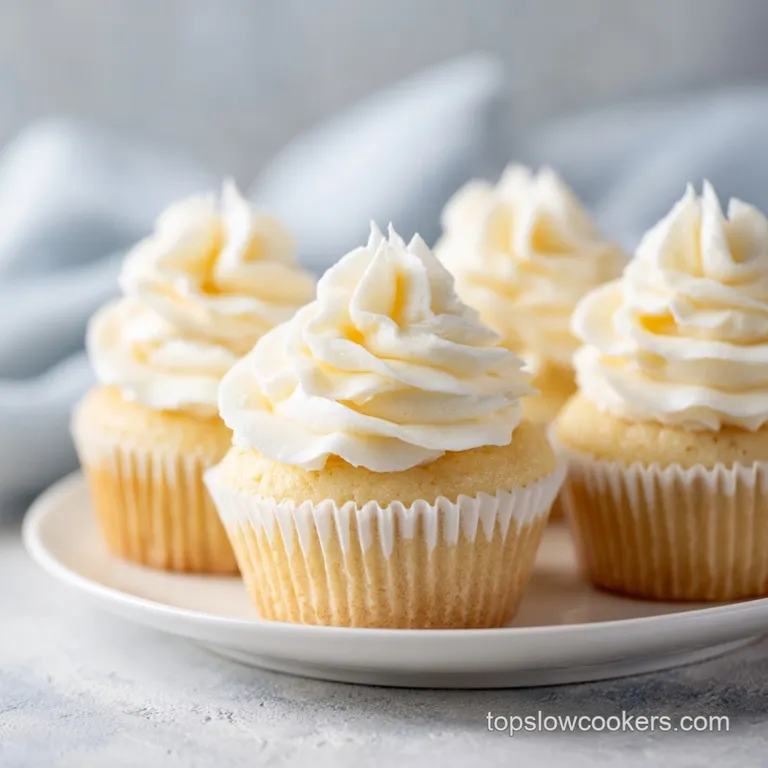
- Flavor/Texture Hook: Velvety, matte satin finish with a balanced sweet salty profile
- Perfect for: High stack birthday cakes, detailed cupcake piping, and beginner bakers
- Master This Fluffy Buttercream Frosting Recipe
- Science of the Matte Satin Finish
- Component Analysis and Selection
- Essential Elements for Your Frosting
- Tools for a Flawless Finish
- Step-by-Step Whipping Guide
- Troubleshooting Common Frosting Fails
- Flavor Tweaks for Every Occasion
- Correct Storage and Freshness Tips
- Best Cakes for This Frosting
- Recipe FAQs
- 📝 Recipe Card
Master This Fluffy Buttercream Frosting Recipe
Have you ever wondered why bakery frosting looks like a pristine, ivory cloud while the stuff we make at home often looks yellow and feels a bit like sweetened grease? The secret isn't some expensive, high tech additive or a secret industrial machine.
It actually comes down to a simple physical transformation that happens when you stop rushing the butter. Most of us stop mixing way too early, but if you hang in there for just a few extra minutes, the texture shifts from heavy to weightless.
I remember the first time I actually set a timer for the whipping process. I used to think three minutes was an eternity, but when I finally pushed it to seven, the butter turned almost white. It was a complete revelation.
This frosting recipe doesn't just sit on top of a cake; it becomes part of the experience, offering a silky mouthfeel that doesn't leave that weird film on the roof of your mouth. We're going for a matte satin finish that looks professional but tastes like home.
Since we are keeping things simple with minimal tools, you don't need to be a pastry chef to nail this. Whether you're using a stand mixer or a reliable hand mixer, the goal is the same: aeration. We want to trap millions of tiny air bubbles in the fat.
This process not only lightens the color but also balances the sweetness of the sugar, making the whole thing feel much lighter on the palate. Right then, let's get into why this method actually works.
Science of the Matte Satin Finish
- High Speed Aeration: Beating the butter for 5–7 minutes forces air into the fat, creating a stable foam structure that lightens the color from yellow to pale ivory.
- Sugar Saturation: Sifting the sugar ensures that each granule is coated by the fat, preventing the gritty texture that ruins most homemade batches.
- Emulsification Stability: The small amount of heavy cream acts as an emulsifier, binding the fat and sugar into a cohesive, shimmering spread that won't separate.
- Crystal Inhibition: The fine sea salt does more than season; it helps break the perception of overwhelming sweetness by interacting with your taste buds' receptors.
| Method | Time | Texture | Best For |
|---|---|---|---|
| Stovetop (Swiss) | 25 minutes | Silky and buttery | Hot summer days |
| Stovetop (Italian) | 30 minutes | Marshmallow like | Wedding cakes |
| Simple Whip (This) | 15 minutes | Fluffy and stable | Quick weeknight baking |
The simple whip method is a lifesaver for busy afternoons. While traditional meringue based frostings require candy thermometers and hot syrups, this version relies on mechanical energy to get that airy volume. It is the most reliable path to a great result when you don't want to deal with a stove.
Component Analysis and Selection
| Ingredient | Science Role | Pro Secret |
|---|---|---|
| Unsalted Butter | Structural base | Use 18°C (65°F) butter for maximum air retention. |
| Confectioners' Sugar | Bulk and sweetness | Always sift to prevent "sugar boulders" in your piping tip. |
| Heavy Cream | Moisture and silkiness | Cold cream helps stabilize the final whip. |
Essential Elements for Your Frosting
To get that velvety result, we need to be specific about our choices. This isn't just about grabbing whatever is in the fridge. For instance, using unsalted butter is vital because it allows us to control the exact level of seasoning.
If you only have salted butter, you'll need to skip the extra salt entirely, but the flavor won't be quite as bright.
- 454g Unsalted Butter: Softened to exactly 18°C. Why this? This is the "sweet spot" temperature where butter is plastic enough to hold air.
- 840g Confectioners' Sugar: Sifted through a fine mesh strainer. Why this? Prevents graininess and ensures the frosting looks matte and smooth.
- 30ml Heavy Cream: Must be at least 36% fat content. Why this? Adds a luxurious mouthfeel that milk or water cannot replicate.
- 15ml Pure Vanilla Extract: Use the good stuff, not the imitation. Why this? Provides the foundational floral notes that balance the fat.
- 1.5g Fine Sea Salt: The finer the better. Why this? Dissolves instantly so you don't get salty crunches.
| Original Ingredient | Substitute | Why It Works |
|---|---|---|
| Heavy Cream (30ml) | Whole Milk (30ml) | Thinner consistency. Note: Frosting will be slightly less stable for high piping. |
| Vanilla Extract | Almond Extract | Use only 5ml. Note: Very strong flavor shift; best for wedding cakes. |
| Unsalted Butter | Salted Butter | Swap 1:1. Note: Omit the additional sea salt in the recipe. |
Tools for a Flawless Finish

Since this is a minimal tool recipe, your main weapon is the mixer. A stand mixer with a paddle attachment is the gold standard because it beats the butter without incorporating too much air, which can cause large bubbles.
However, a hand mixer works perfectly fine; you just might need to add an extra minute to each step to compensate for the smaller beaters.
You'll also want a sturdy silicone spatula. Scraping the bowl is the most underrated step in baking. Butter likes to hide at the bottom of the bowl, and if it doesn't get whipped, you'll end up with yellow streaks in your ivory frosting. A simple fine mesh sifter is also non negotiable.
It might seem like an extra chore, but it takes two minutes and saves you from the heartbreak of a clogged piping tip later on.
step-by-step Whipping Guide
- Place 454g of room temperature butter (18°C) in your mixing bowl. Note: If the butter is too cold, it will clump; if too warm, it will soup.
- Beat the butter on medium high speed for 5–7 minutes until the color lightens to a pale ivory and looks fluffy.
- Stop the mixer and scrape the sides and bottom of the bowl thoroughly with your spatula.
- Reduce the mixer to the lowest setting to avoid a sugar explosion.
- Add the 840g of sifted confectioners' sugar one cup at a time, allowing it to incorporate slowly.
- Increase the speed to medium and beat for 2 minutes until the mixture is thick and well combined.
- Pour in the 30ml heavy cream, 15ml vanilla extract, and 1.5g fine sea salt.
- Beat on medium high for one final minute until the texture is silky and shimmering.
- Give the frosting a final stir by hand with a spatula to knock out any large air pockets.
Chef's Tip: If you want your frosting to be truly white, add the tiniest toothpick dot of purple gel food coloring. Purple neutralizes the yellow tones of the butter, leaving you with a clean, bright white finish.
Troubleshooting Common Frosting Fails
Why Is My Frosting So Grainy?
Graininess is almost always caused by skipping the sifting step or using a low quality sugar that contains too much cornstarch. If the sugar hasn't fully integrated into the fat, you'll feel those tiny crystals on your tongue.
| Problem | Root Cause | Solution |
|---|---|---|
| Grainy texture | Unsifted sugar | Beat on medium high for 2 extra minutes to dissolve crystals. |
| Greasy/Slumping | Butter was too warm | Chill the bowl for 10 minutes, then re whip. |
| Air Bubbles | Over whipping | Use a spatula to "mash" the frosting against the bowl sides. |
Why Is My Buttercream Too Soft to Pipe?
If your kitchen is warm or you beat the frosting for too long, the friction can melt the butter's crystalline structure. It becomes a soup rather than a cloud. To fix this, don't just add more sugar! That will make it cloyingly sweet. Instead, pop the whole bowl in the fridge for 15 minutes.
This firms up the fat, allowing you to whip it back into a stable state.
Common Mistakes Checklist
- ✓ Sift the confectioners' sugar every single time to ensure a velvet finish.
- ✓ Use a paddle attachment instead of a whisk to minimize giant air bubbles.
- ✓ Check that your butter is exactly 18°C (it should dent easily but not be shiny).
- ✓ Scrape the bowl at least twice to ensure no unmixed butter remains.
- ✓ Add the cream last to help emulsify and smooth the final texture.
Flavor Tweaks for Every Occasion
While the vanilla version is a classic, this base is incredibly forgiving. If you want to try something more decadent, you could look at a homemade cream cheese frosting for a tangier bite, but you can also modify this recipe right in the bowl. For a chocolate version, swap 60g of the sugar for high-quality cocoa powder and add an extra 15ml of cream.
For a sophisticated twist, try replacing the vanilla with 15ml of spiced rum or a teaspoon of lemon zest. If you're catering to a dairy-free crowd, you can swap the butter for a high fat vegan stick butter (avoid the tubs!) and use coconut cream instead of heavy cream.
Just keep in mind that vegan fats melt at a lower temperature, so keep that cake in the fridge until the last possible second.
- If you want a firmer pipe: Add an extra 60g of sugar to stiffen the structure.
- If you want a thinner glaze: Add 5ml increments of extra cream until it flows.
- If you want a matte look: Ensure you beat for the full time to maximize air.
Correct Storage and Freshness Tips
- Fridge
- Store in an airtight container for up to 7 days. You must let it come back to room temperature and re whip it for 2 minutes before using.
- Freezer
- This frosting freezes beautifully for up to 3 months. Thaw overnight in the fridge and follow the re whipping rule above.
- Zero Waste
- If you have a small amount of leftover frosting, don't toss it! It makes an incredible filling for sandwich cookies, or you can dollop it onto parchment paper, freeze it, and drop those "frosting clouds" into hot cocoa for a rich, creamy treat.
Best Cakes for This Frosting
This particular buttercream is the ideal partner for a Moist Homemade Vanilla Cake Recipe because the simplicity of the vanilla on-vanilla allows the texture of the frosting to really shine. It also provides the necessary structure for layered cakes that need to stand tall without sliding.
| Fresh | Shortcut (Tub) | Flavor Impact |
|---|---|---|
| Real Butter | Palm/Soy Oil | Fresh version has a clean, melting finish. |
| Pure Vanilla | Artificial Vanillin | Fresh version has complex, floral depth. |
| Whipped Air | Chemical Aerators | Fresh version feels lighter and less "waxy." |
Because this frosting is so stable, it works exceptionally well for "naked" cakes where the edges are exposed to the air. The sugar content creates a very thin "crust" that protects the cake crumb from drying out, while the inside stays soft and velvety. It's a classic for a reason - it just works.
Regardless of what you're topping, remember that the butter temperature is your best friend. Get that right, and the rest is easy.

Recipe FAQs
What are the ingredients for buttercream frosting?
You need exactly five ingredients: 454g of unsalted butter, 840g of sifted confectioners' sugar, 2 tablespoons of heavy cream, 1 tablespoon of pure vanilla extract, and 1/4 teaspoon of fine sea salt.
What is the trick to buttercream frosting?
Beat your room temperature butter for a full 5 7 minutes before adding sugar. This creates the aeration necessary for a fluffy, pale ivory texture that serves as the perfect canvas for indulgent desserts like our Pumpkin Cake Cheesecake.
How to make a really good buttercream?
Beat the butter on medium high speed until it reaches a pale, fluffy consistency before slowly adding your sifted sugar. Finish by incorporating the heavy cream, vanilla, and salt on medium high speed for exactly one minute to achieve a professional matte satin finish.
Is it true I must melt the butter before mixing?
No, this is a common misconception. You must use butter softened to exactly 65°F; melting it will ruin the emulsion and result in a greasy, thin frosting that cannot hold its structure.
How to fix frosting that is too thick?
Add heavy cream one teaspoon at a time while mixing. Small adjustments ensure you reach a silky, spreadable consistency without thinning the mixture too much.
How to avoid grainy frosting?
Always sift your confectioners' sugar before adding it to the butter. Adding it one cup at a time on the lowest mixer speed also prevents sugar lumps and keeps the texture consistently smooth.
What are 5 mistakes to avoid when making butter icing?
Avoid using cold butter, skipping the sifting process, failing to scrape the bowl, rushing the initial 5-7 minute whipping stage, and adding all the sugar at once. These errors lead to clumping, gritty textures, and a lack of proper aeration.
Professional Buttercream Frosting
Ingredients:
Instructions:
Nutrition Facts:
| Calories | 278 kcal |
|---|---|
| Protein | 0.1 g |
| Fat | 15.8 g |
| Carbs | 35.0 g |
| Fiber | 0 g |
| Sugar | 34.9 g |
| Sodium | 24.2 mg |
